NSGen
Table of Contents
(If you are interested in the architecture of the project, skip to the end)
Introduction
During the COVID period, we all found ourselves with the need to stay at home both during and beyond working hours. Like others, I had to come up with something to do: so I decided to challenge myself and carry on a project I had started a few months earlier as a simple utility, and make it into a full service.
At work, I often found myself having to create new APIs for projects that were often only prototyped. Each time I would find myself initializing new projects, creating the entities by hand and their handlers. Besides being repetitive and not necessarily challenging work, sometimes because of typo or other inaccuracies, I would get bugs in the code.
This project was born out of the need to quickly and easily create simple REST backends.
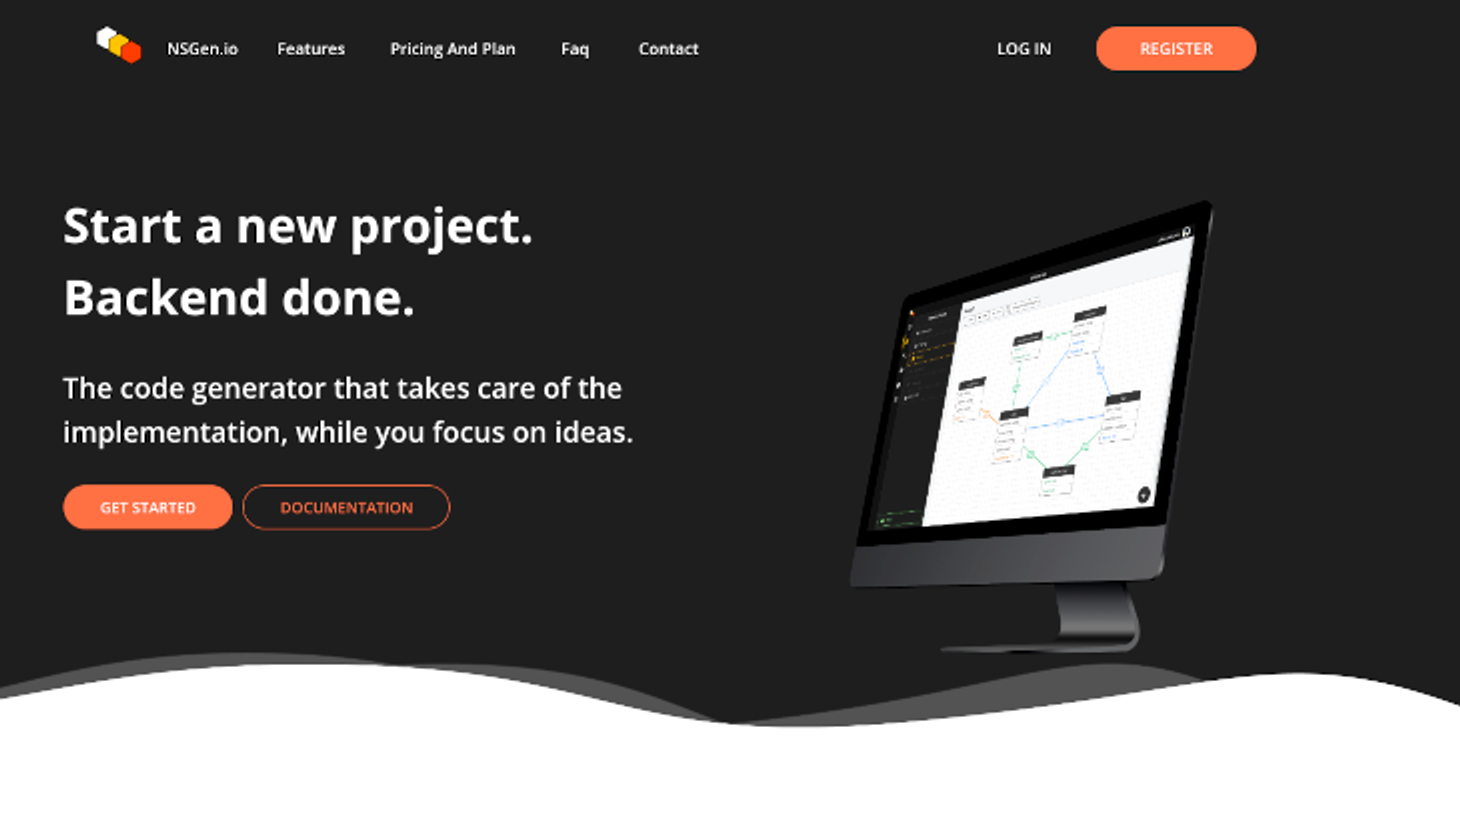
With this post, I intend to present NSGen.io, my solution to this problem, created and deployed as a SaaS (Software as a Service) platform
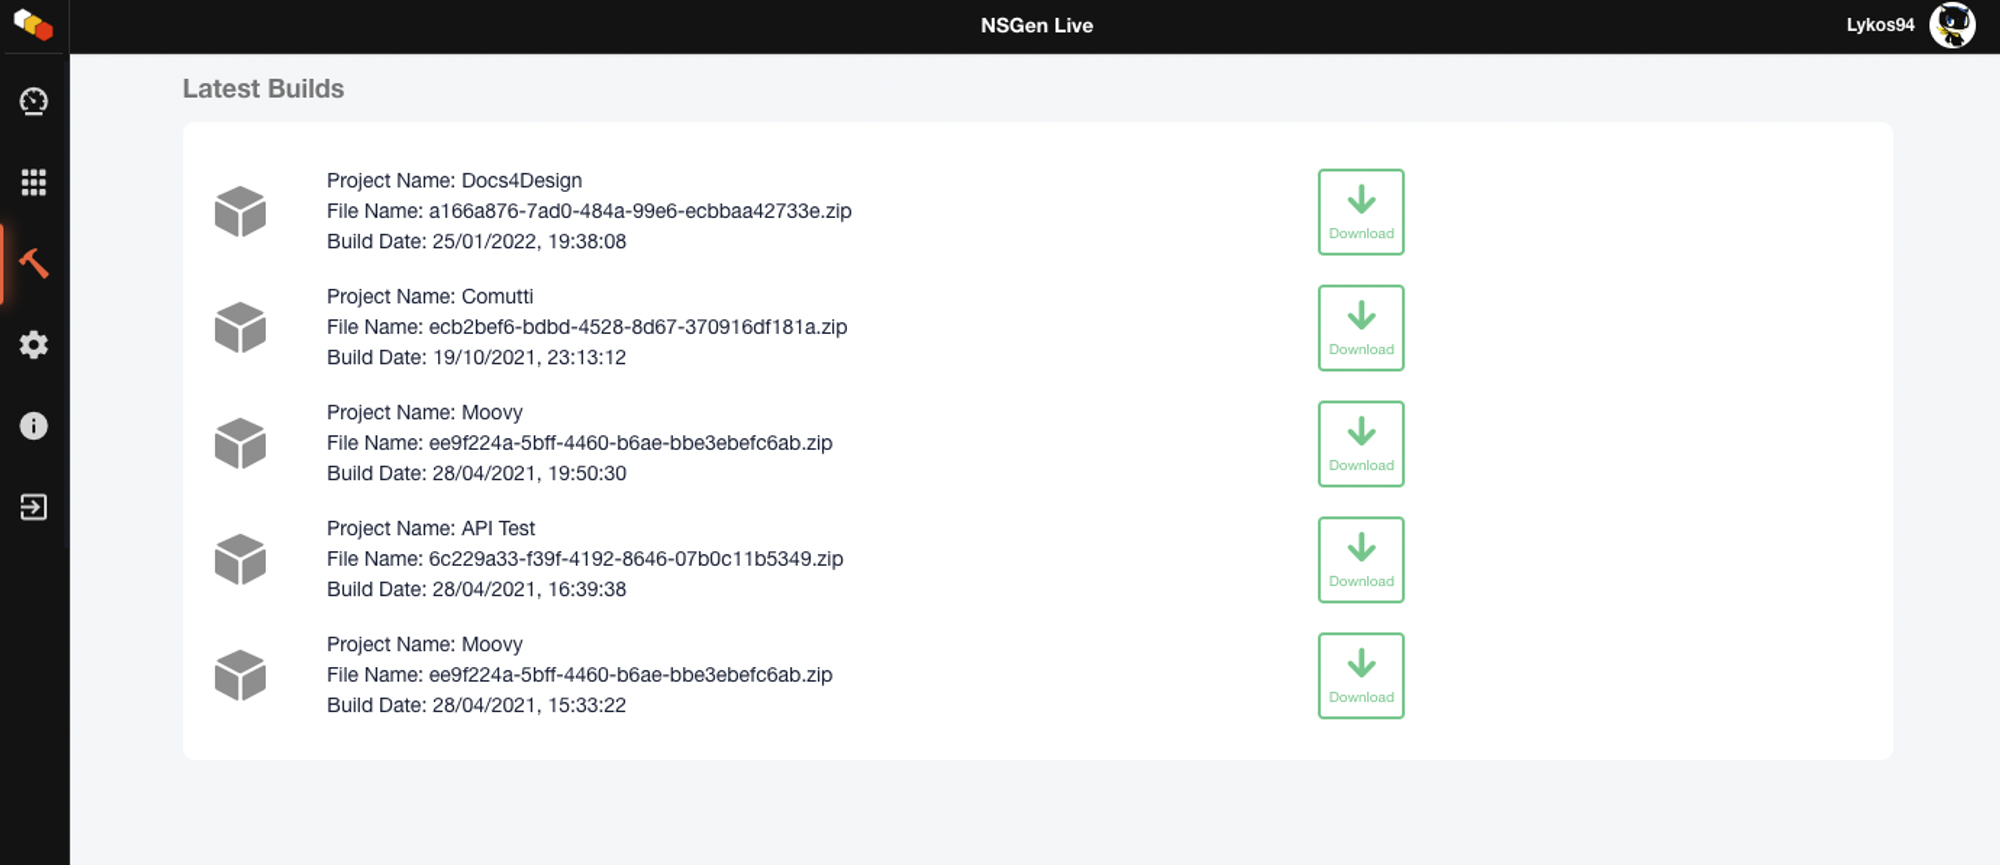
Overview
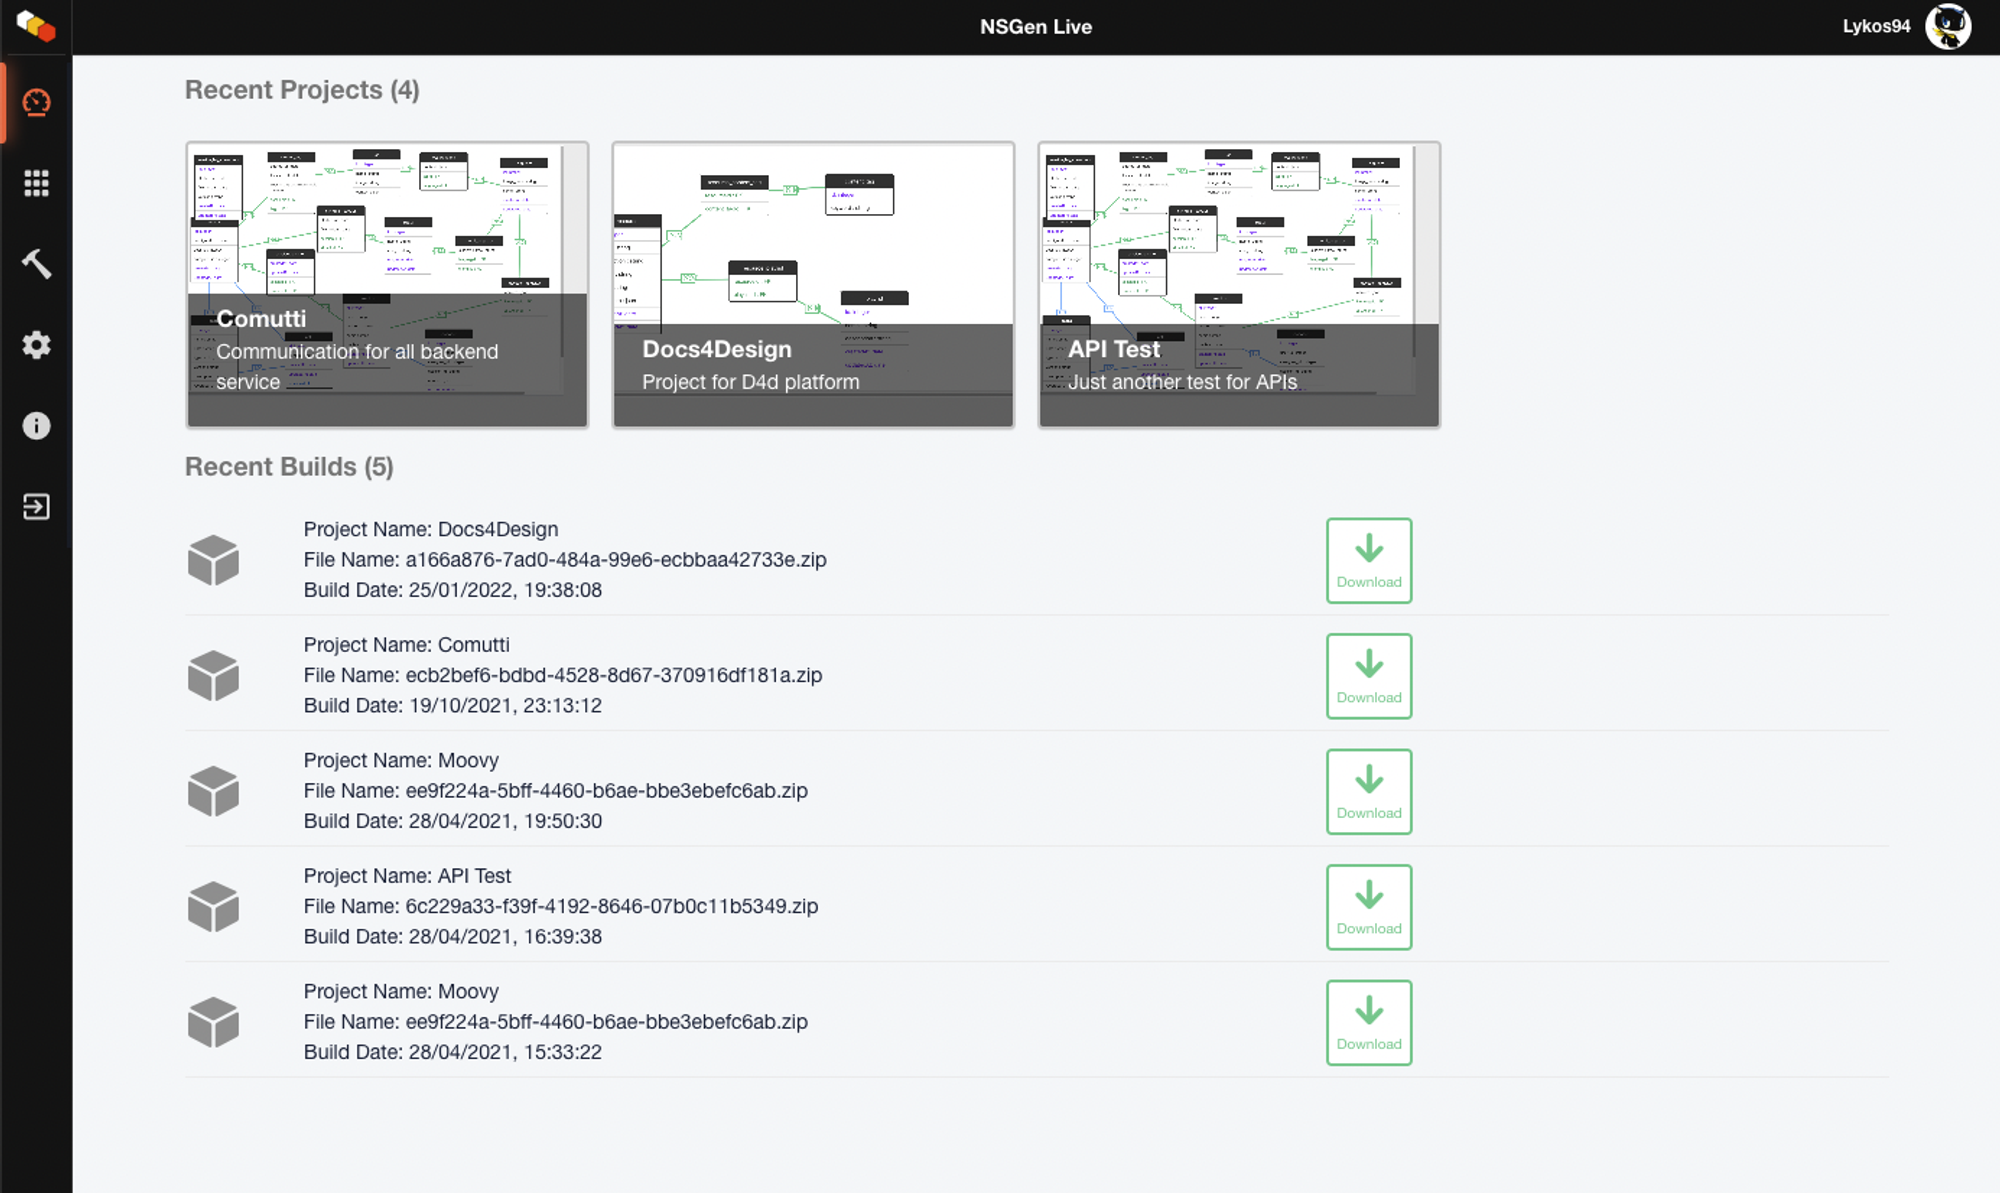
As soon as you log in, you find yourself in front of the main overview. If you have already used the platform, it will show the most recently developed projects and which builds have been completed (we will see these later)
Dashboard
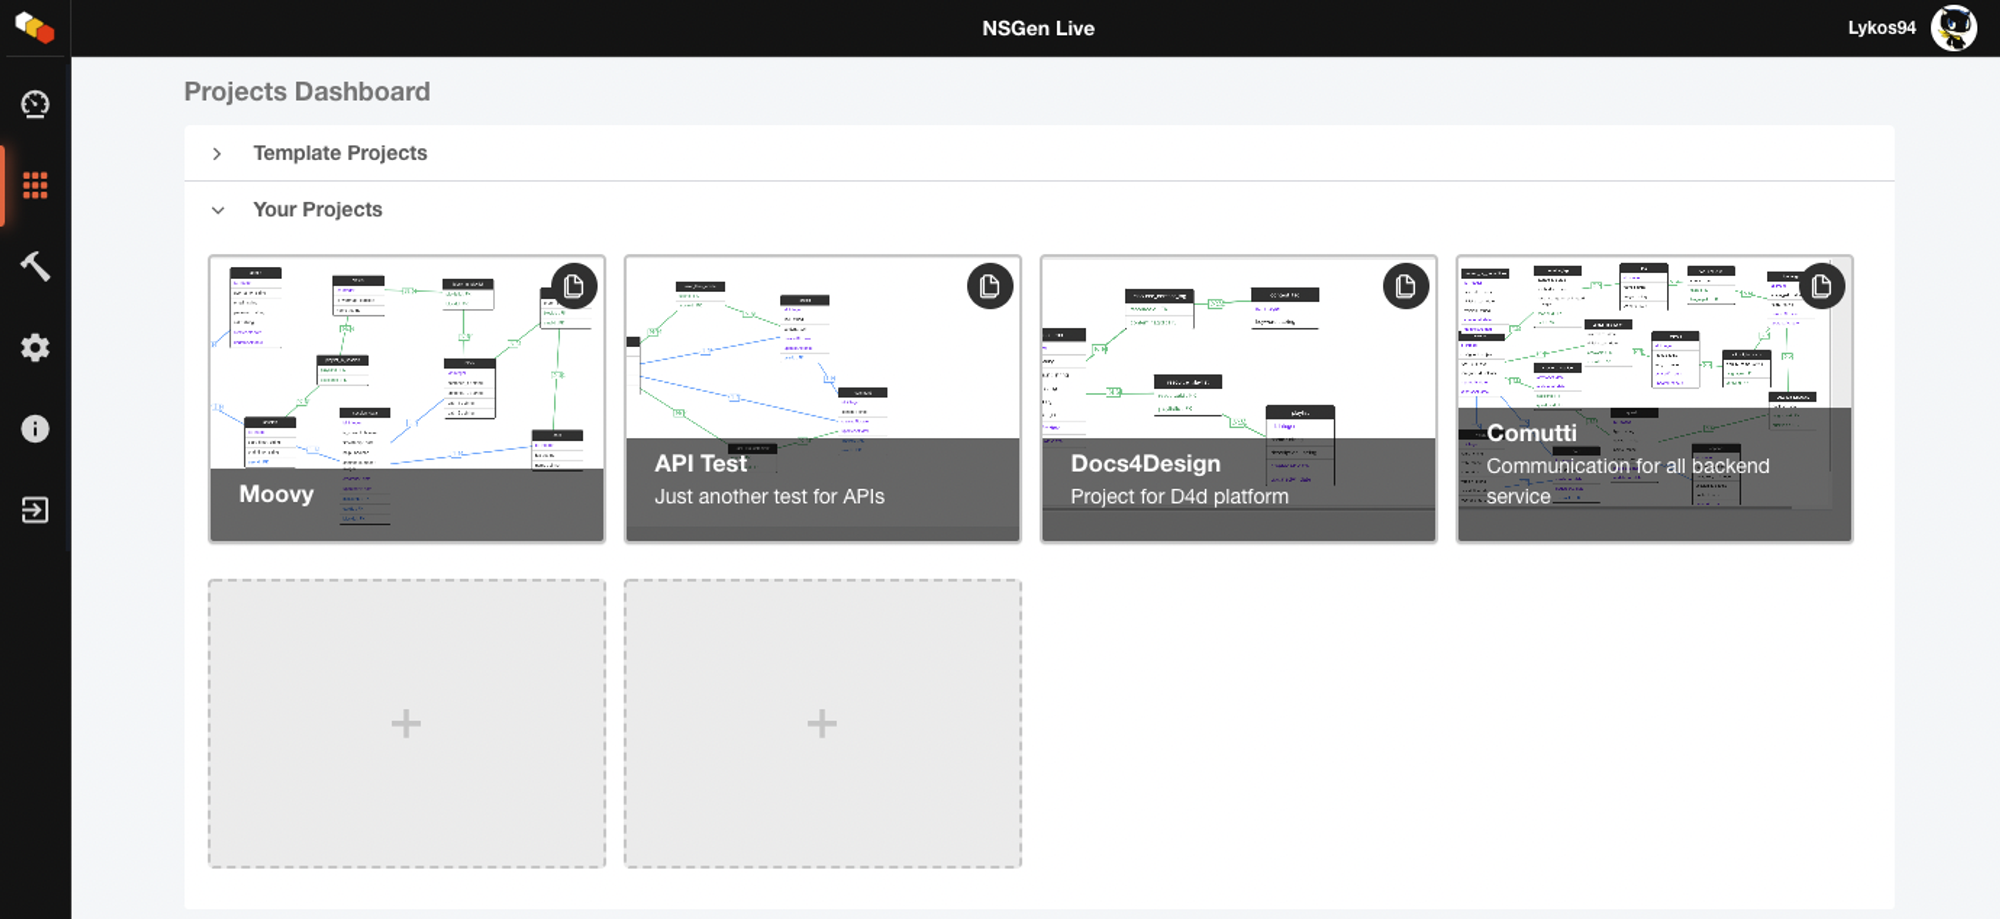
From the dashboard you can create new projects, duplicate existing ones, or even start new ones from pre-packaged templates.
Project overview
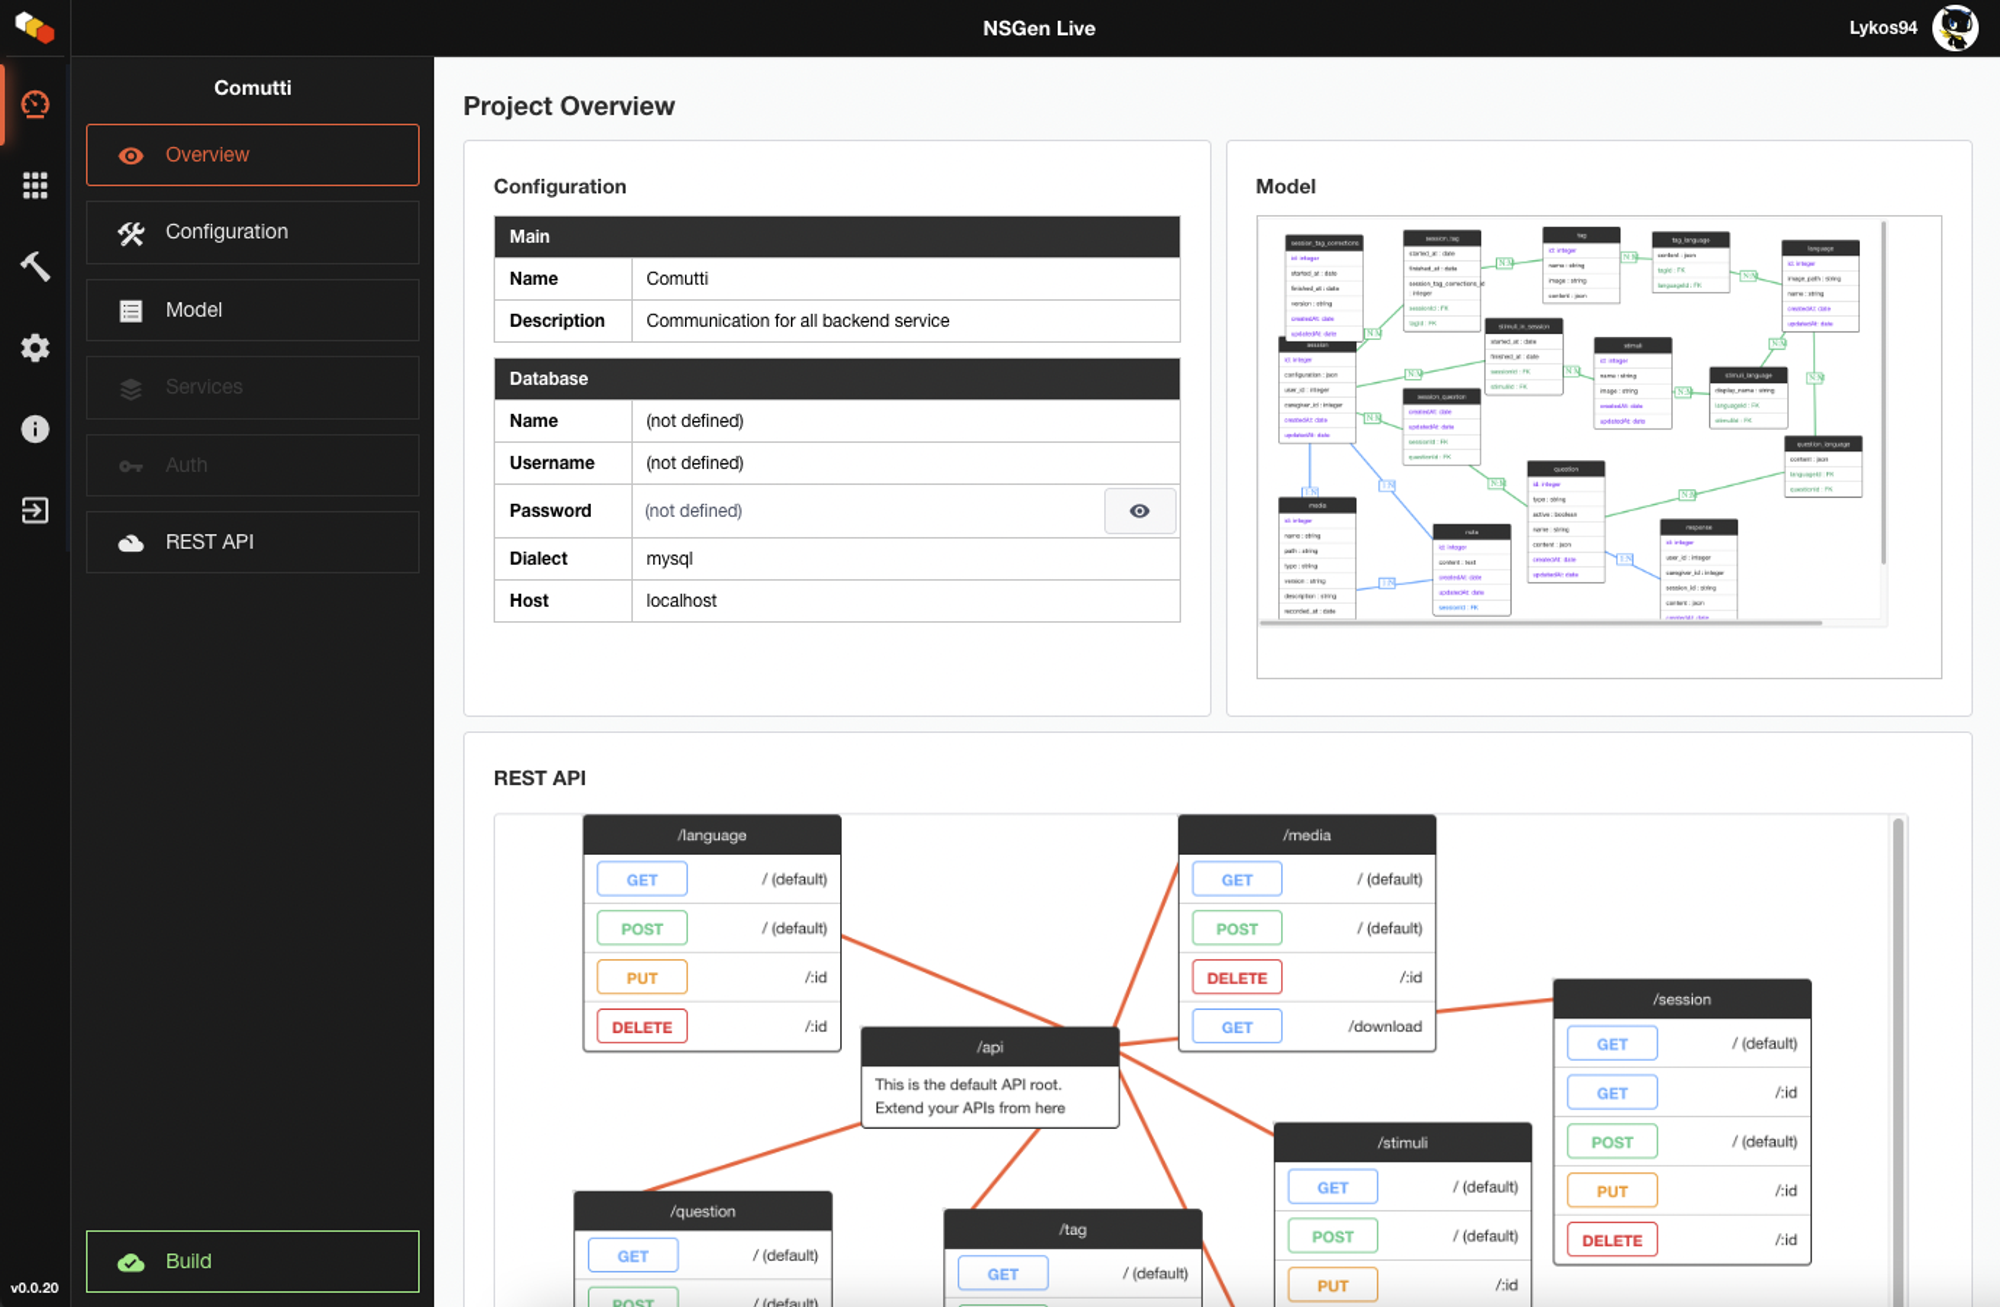 Let us now see how a project is displayed within the platform. Highlighted right away we find what the configurations of the project itself are and recap screenshots on what entities we have modeled and the API handlers we have defined.
Project configuration
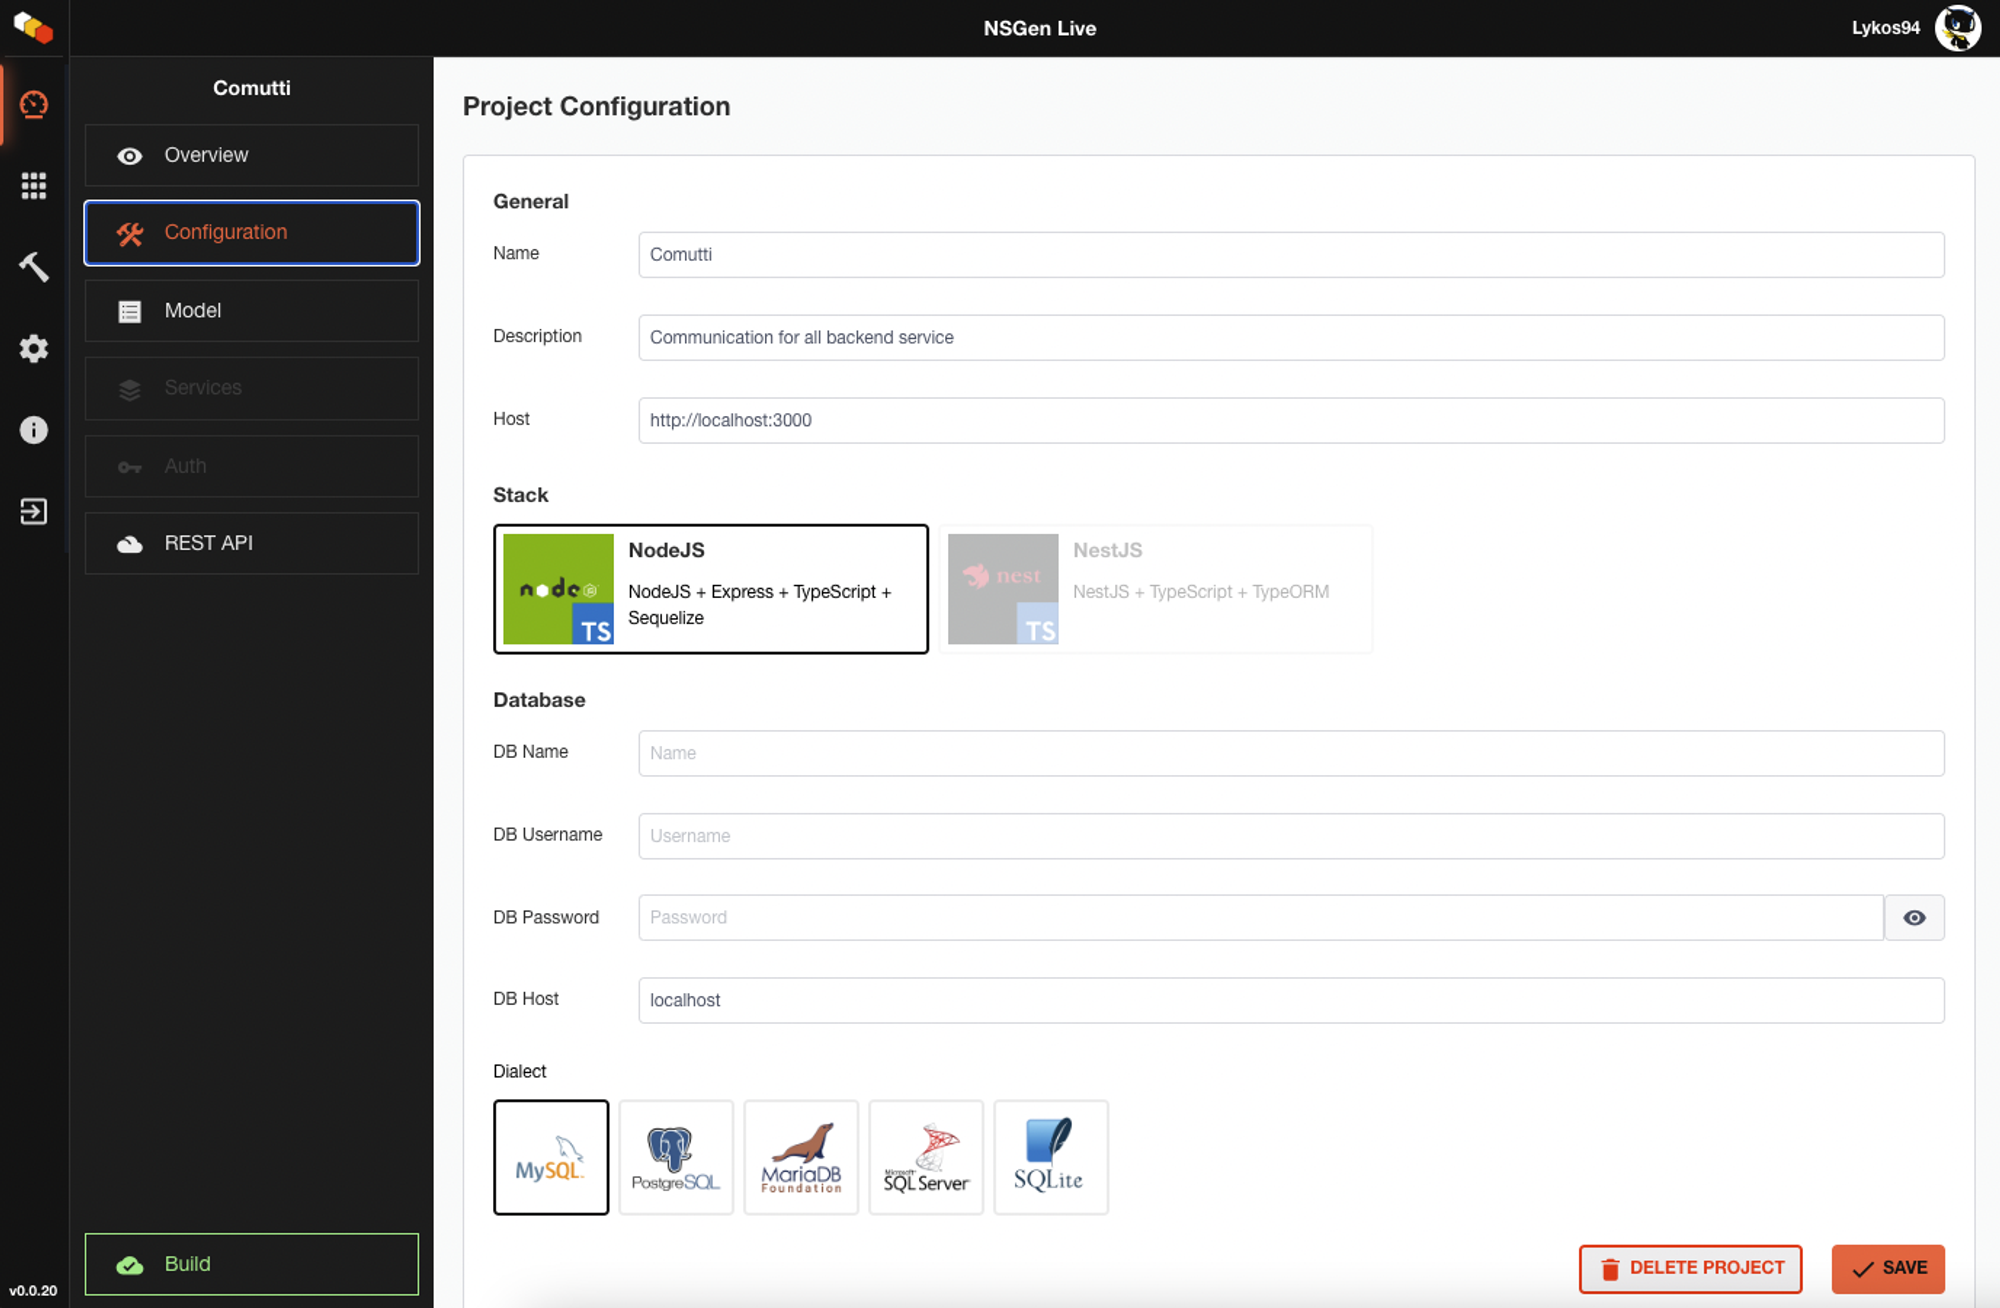
In the project configuration we can change its basic information. These include the name and description of the project, but also information about the type of stack we want to use and which database flavour. Supported database are:
- MySQL
- PostgreSQL
- MariaDB
- SQL Server
- SQLite
In fact, NSGen started as a configurable and extensible project, which allows through templating to generate code also in other languages and connect to different databases. Although it has not since been continued, extensibility is possible
Project models
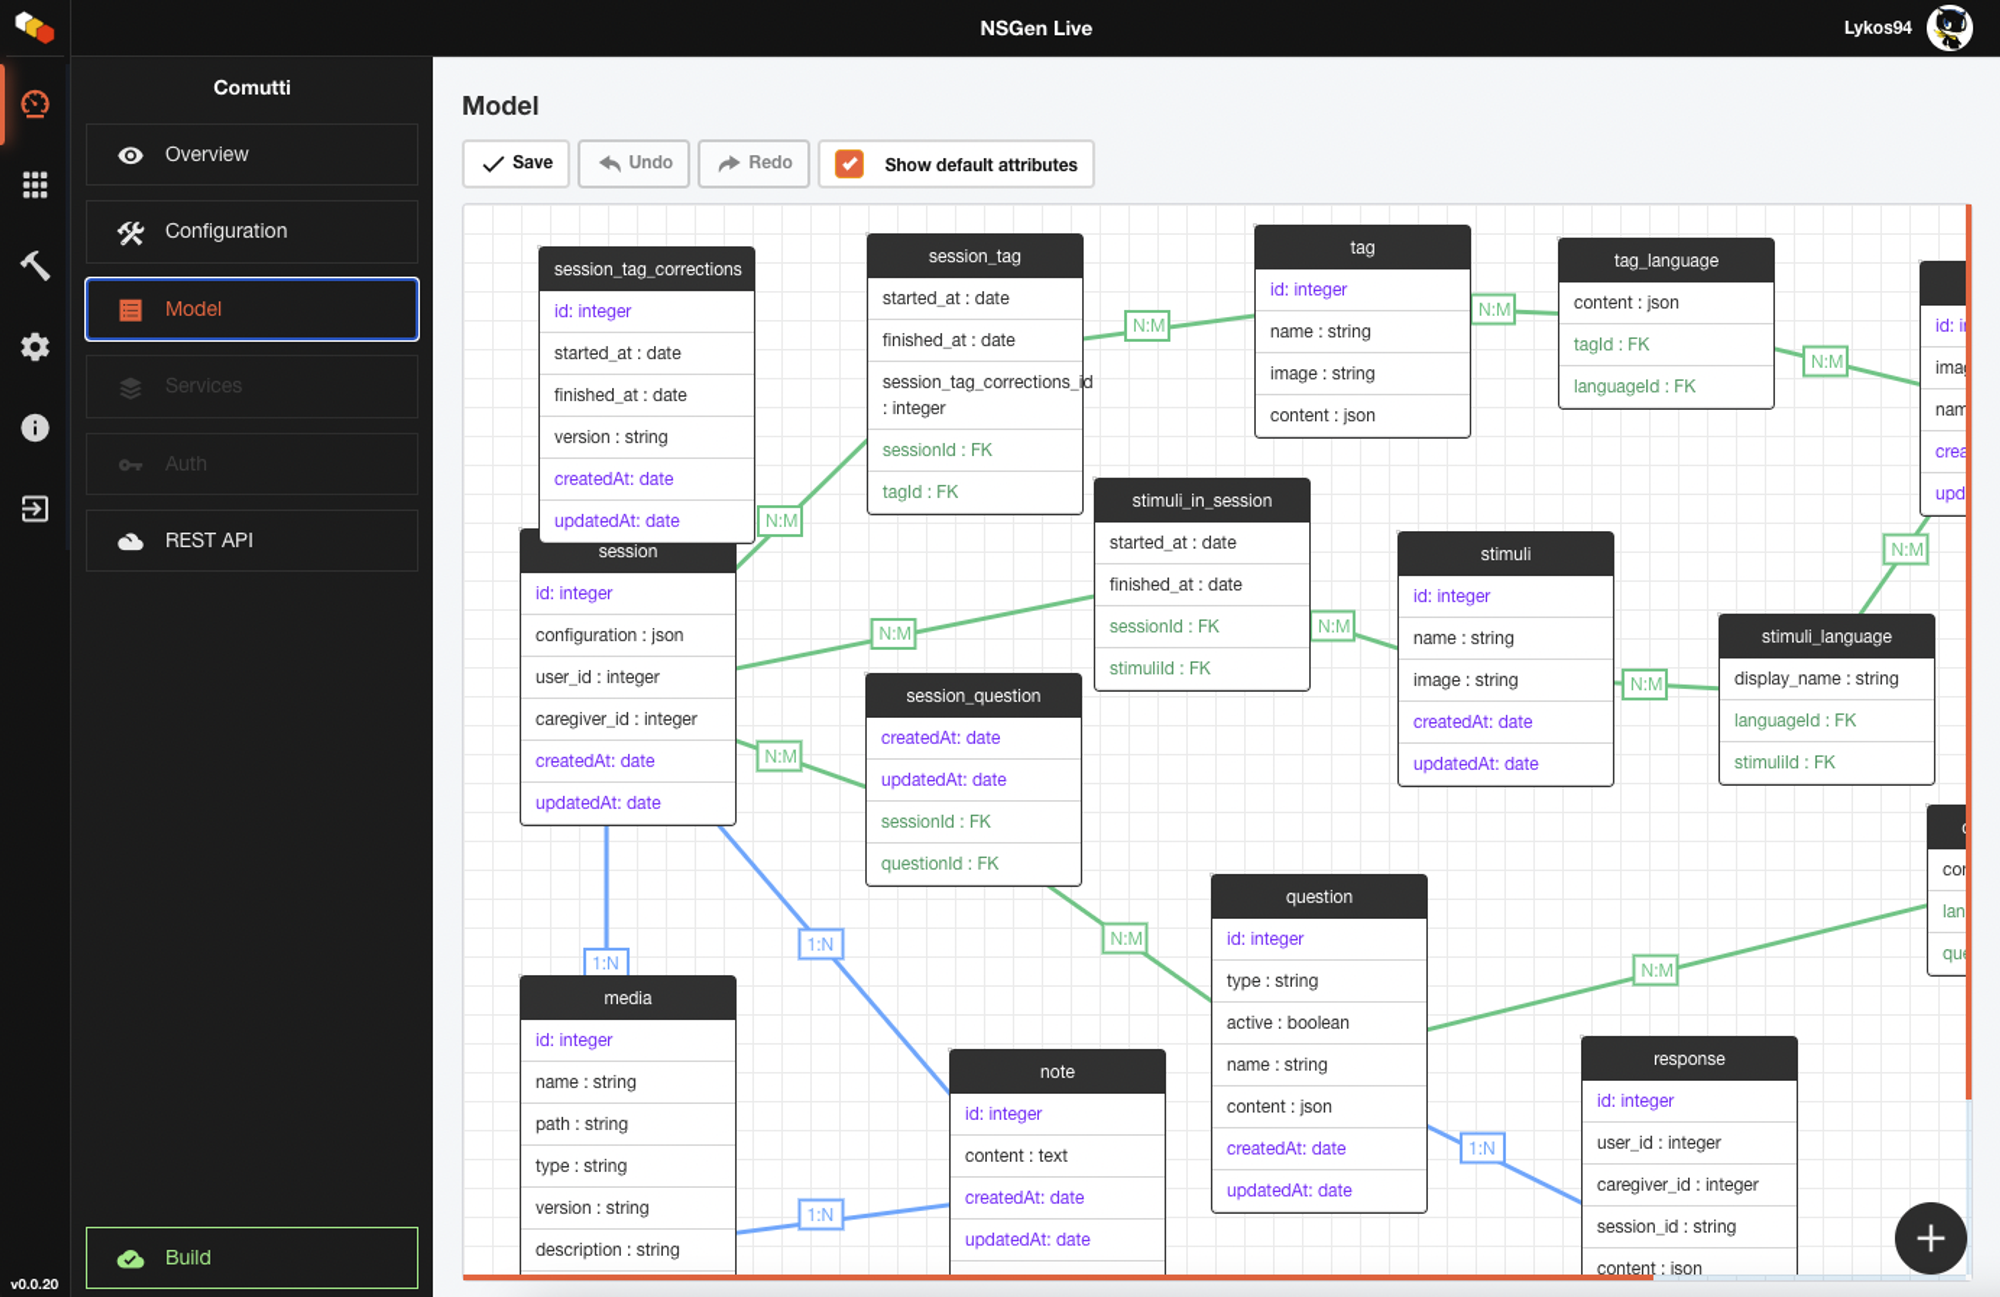
Models are the heart of a project. In this screen you can define via drag-and-drop functionality which templates to create and their attributes. In addition to this, it is also easy to define associations between them. Supported associations are:
- 1:1
- 1:N
- N:M
Project APIs

How do you interact with the models you have created? By defining APIs. In this screen you can create handlers again by drag & drop and define what HTTP methods are available.
In addition, each HTTP method is automatically associated with its code-side functionality (GET -> retrieve, POST -> create …) to further simplify development.
Building your project
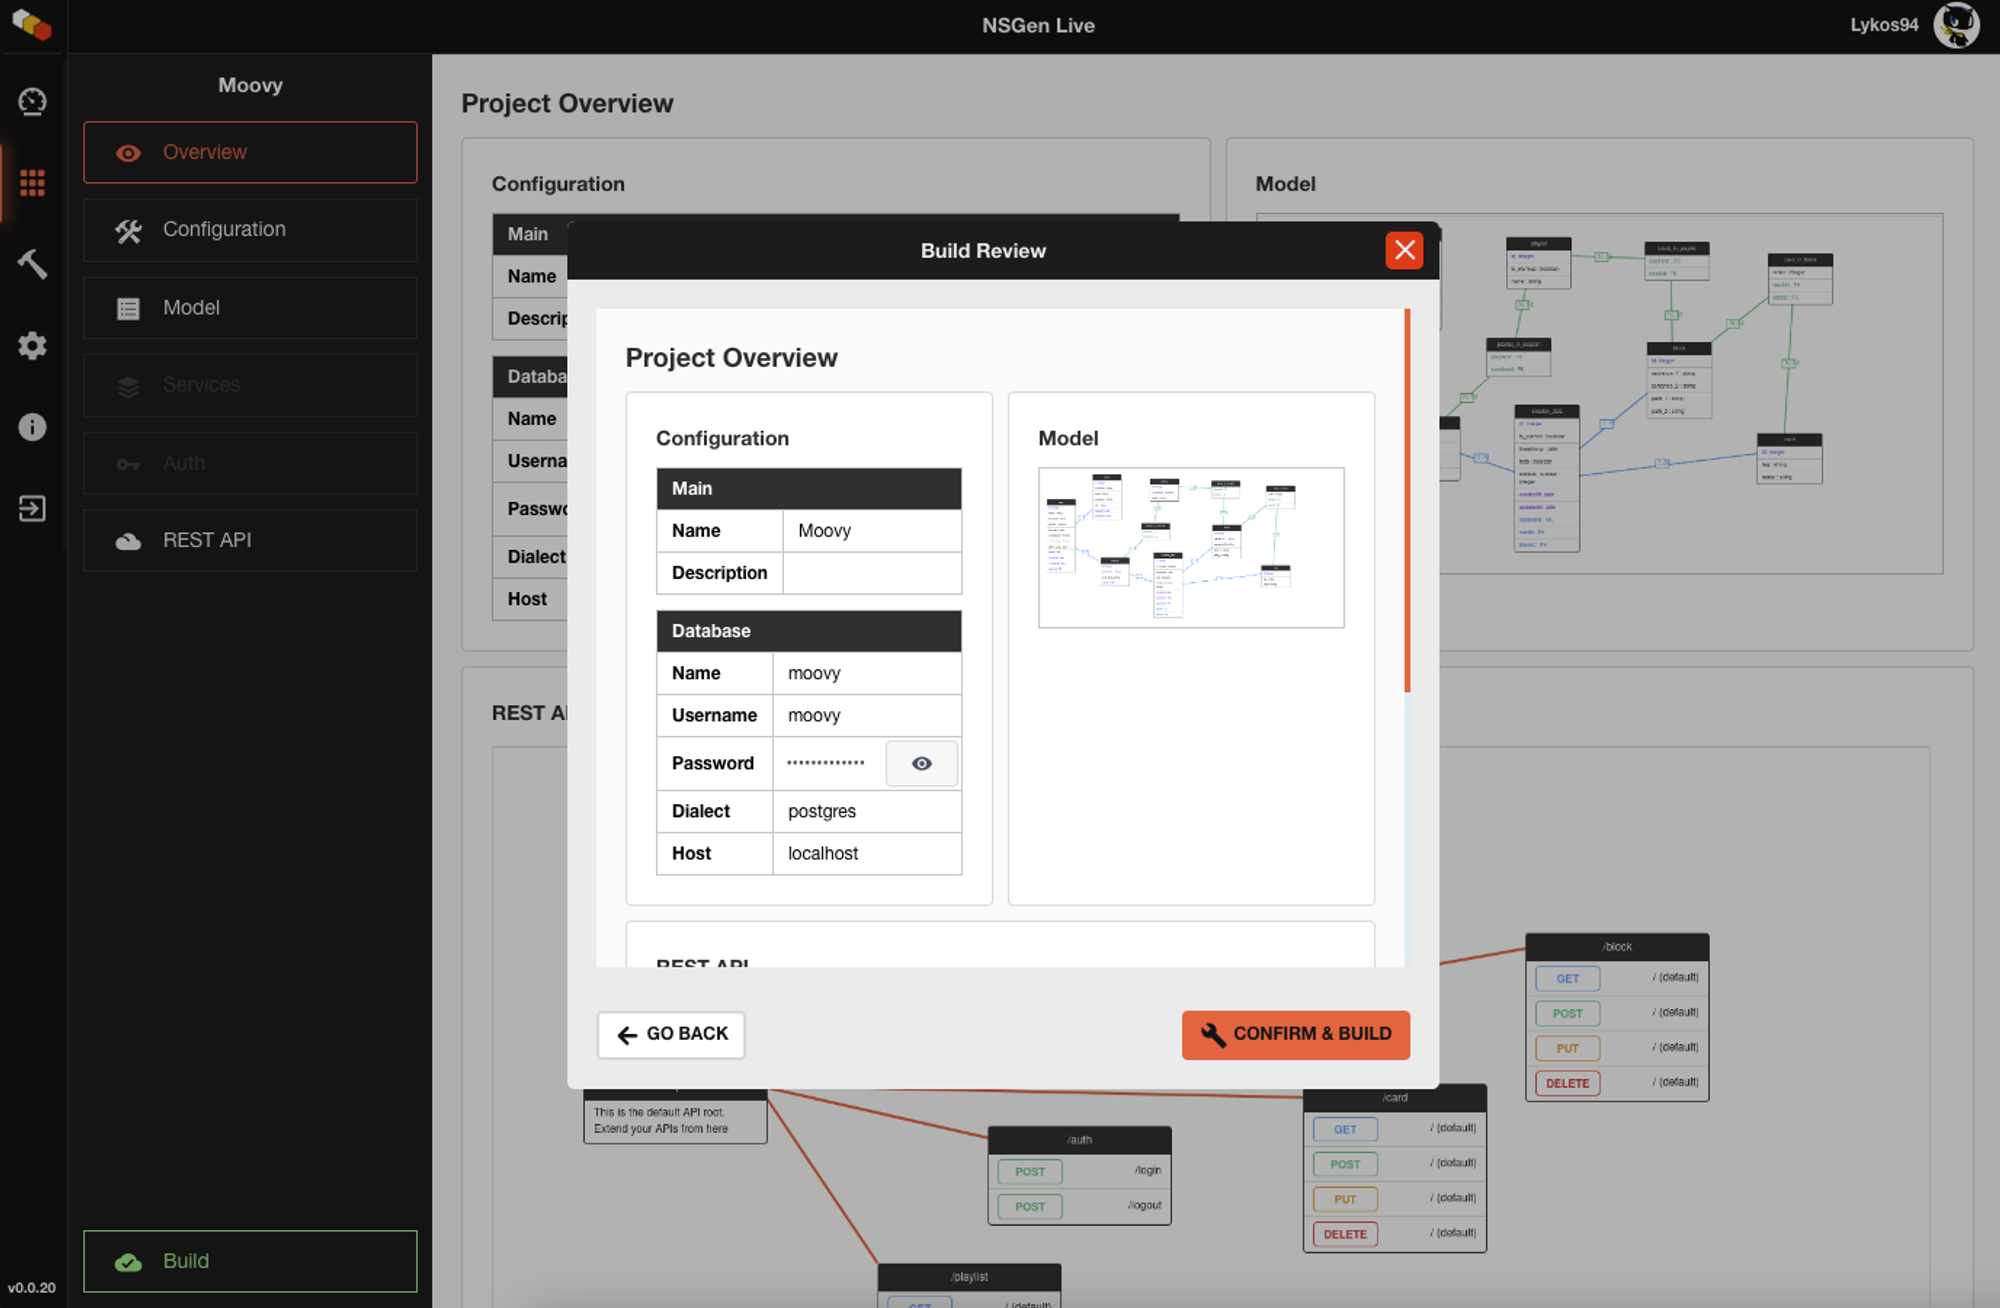
once you have completed and saved your project, you can build it and get a convenient .zip with all the generated code.
The code created is designed to be readable, consequently also easily modified later by the developer.
Architecture
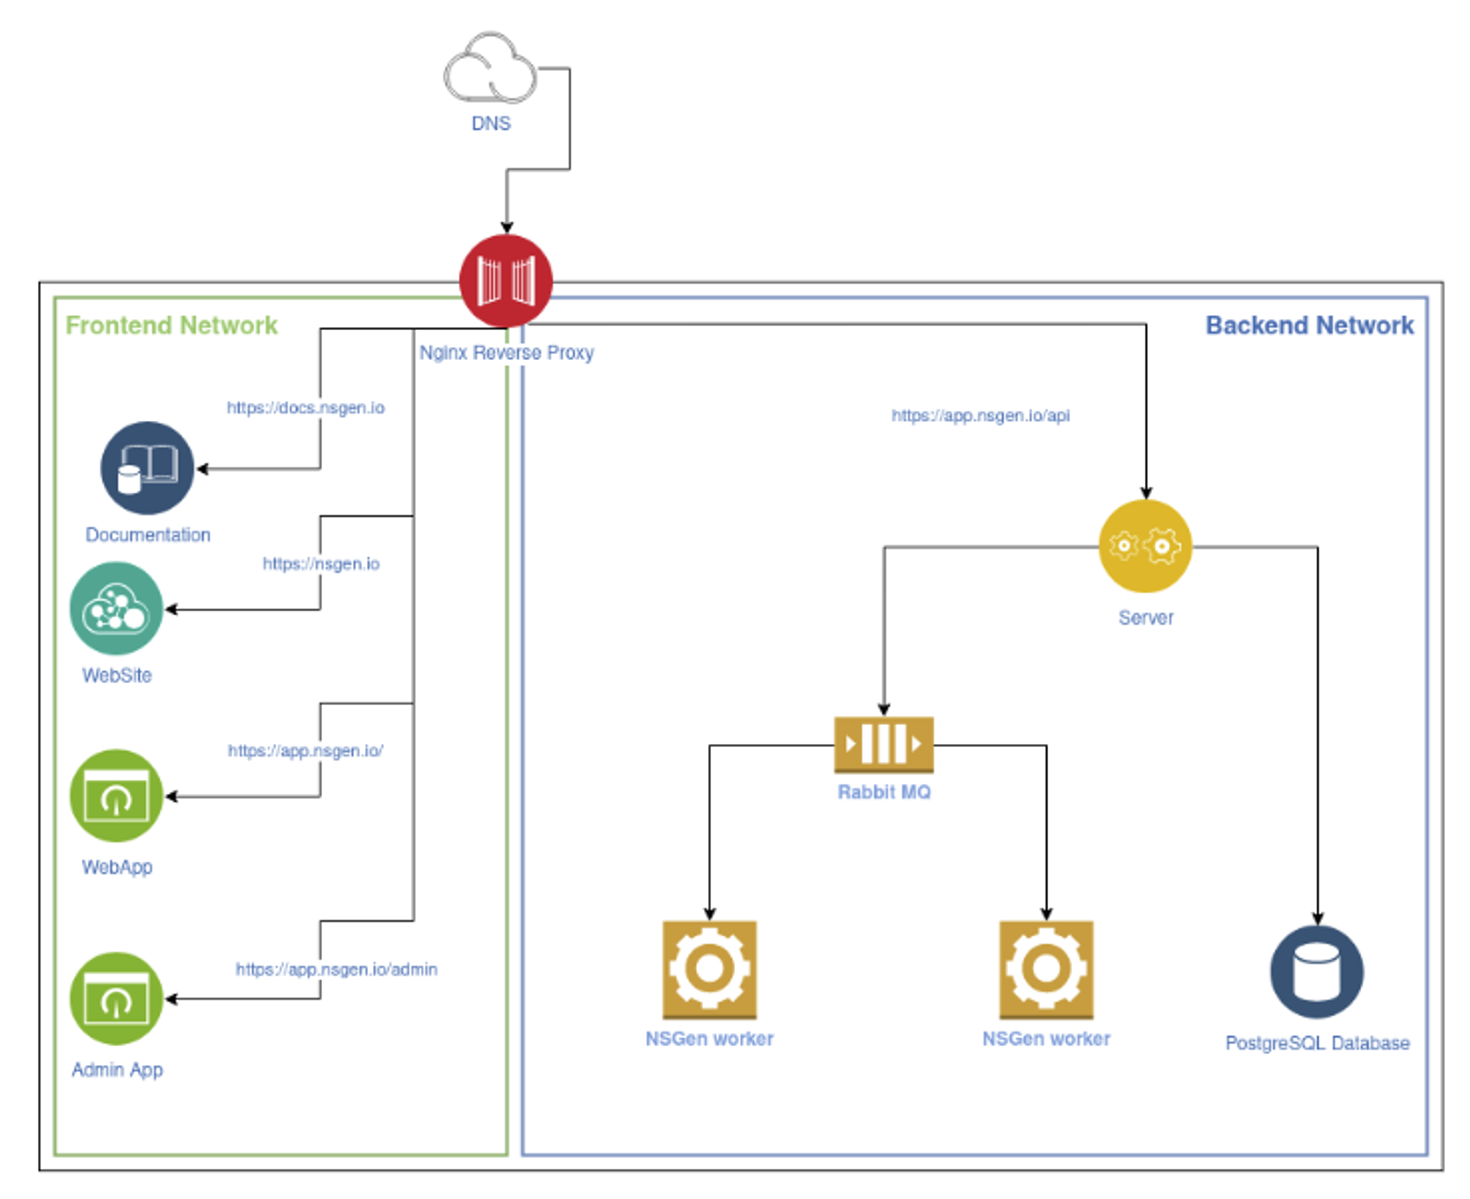
The architecture of the project is sufficently simple. Since when I developed the project I thought of it only for a local server initially, I opted for NGinx as a reverse-proxy for managing my services. At this point you have a division between the frontend and the backend. In the frontend we find the following services:
- Admin app
- Webapp
- Website
- Documentation
In the backend, on the other hand, we mainly find the server. This contains all the information about the projects and the users who created them. It also has information about the builds done for each project.
When a build is created, the information is sent as JSON to the server, which sends it to a queue via RabbitMQ. When a worker results free, the job is taken from the queue and is built. At this point the .zip is generated and the user notified of the completion of the build.
comments powered by Disqus